
Lamp Soldering Tutorial
Here is a typical CCFL Backlight replacement. All assemblies will be slightly different but very similar. Use this as a general guide or to help you determine if changing out a CCFL bulb is for you. If not we offer a mail-in service as well.
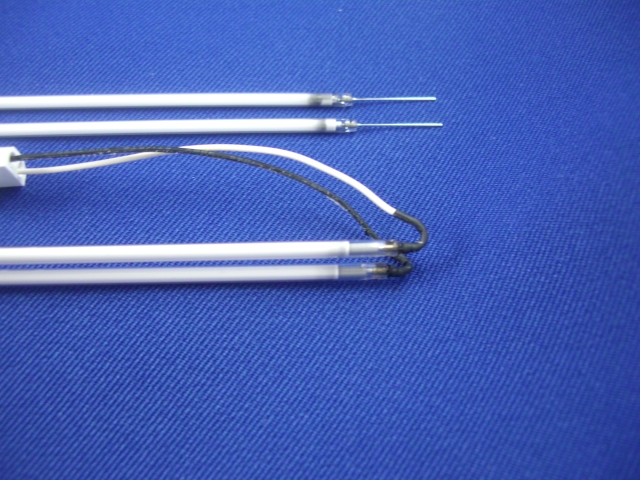
This is a dual lamp assembly but the same process applies wether you are soldering a single, dual or triple lamp assembly.
This is a dual lamp assembly but the same process applies wether you are soldering a single, dual or triple lamp assembly.
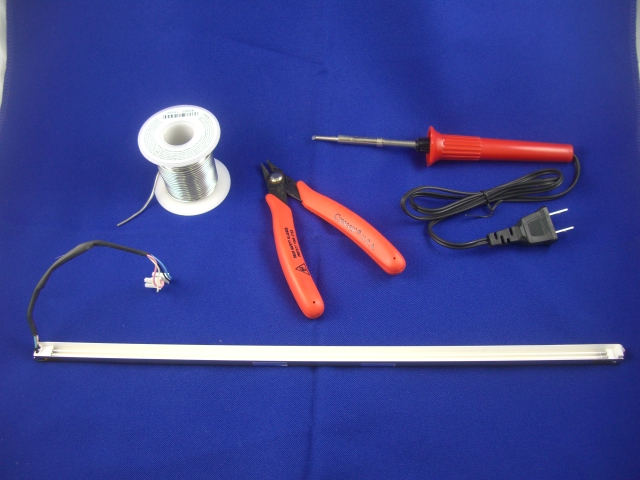 |
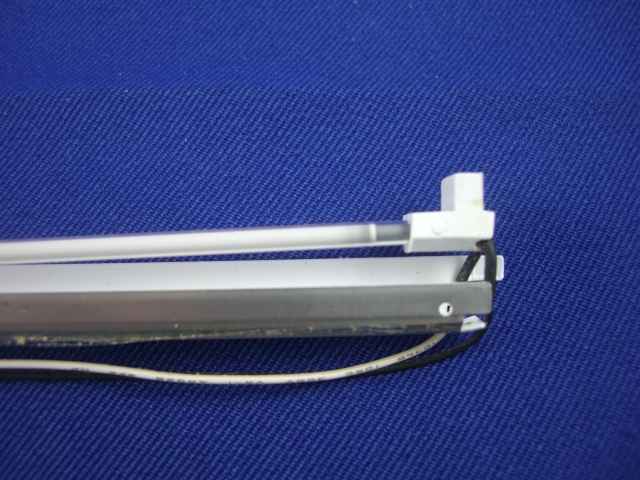
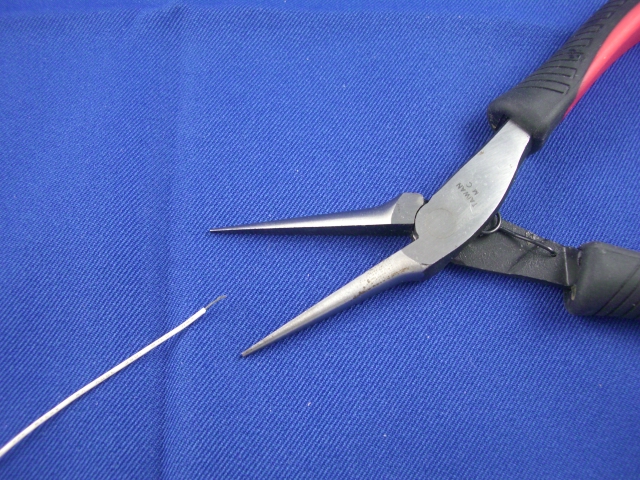
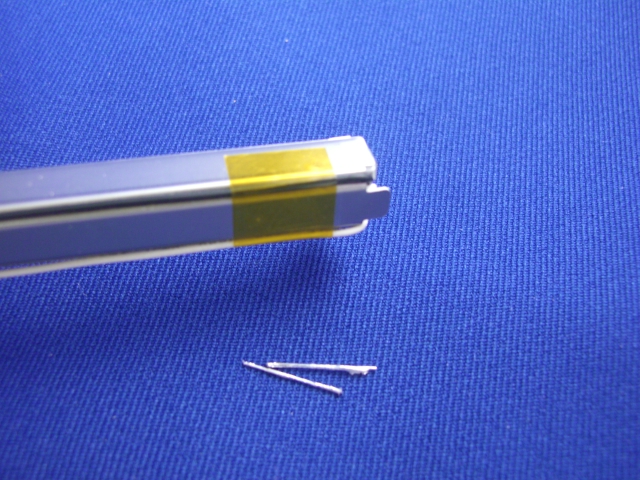
| Here is a typical dual lamp assembly that you might find in many different LCD monitors along with the tools necessary to complete the job, soldering iron, solder and small wire snips. In place of the small wire snips you can use a sharp pair of scissors. You may also wish to have some wire strippers on hand if you have them available. A very small pair of needle nose pliers can also be handy but are not necessary. |
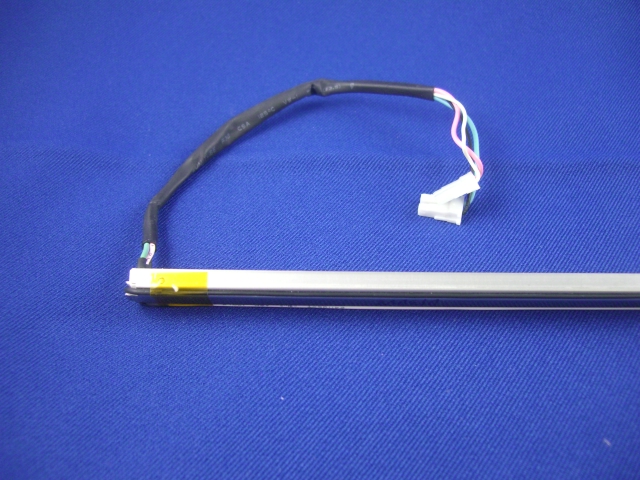 |
| Most assemblies will include a small section or two of Kapton Tape used to hold the wires in place. This is a specialized tape designed to minimize capacitive loading or voltage leakage. It is available in our accessories section, however if carefully removed it can be reused. |
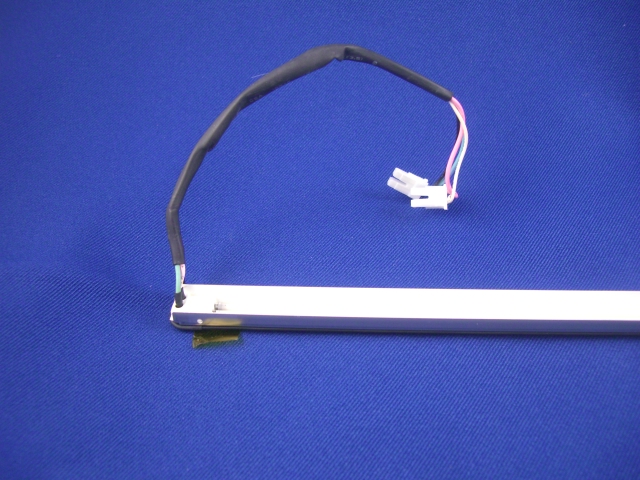 |
| Remove tape so that you can free up the wires that run along the bottom of the assembly. |
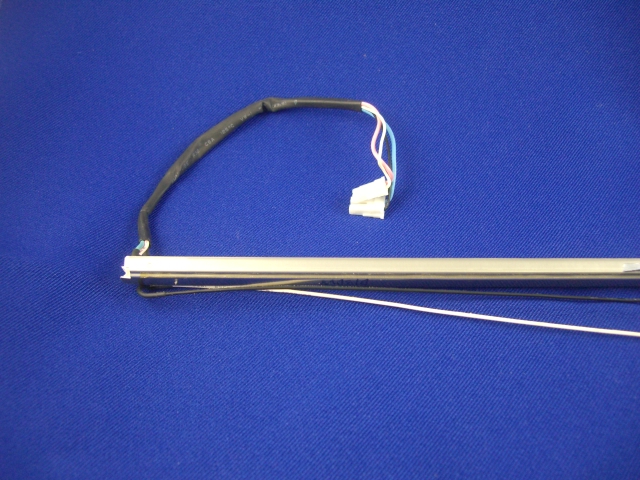 |
| Pull the wires free of the assembly. |
 |
| Carefully remove the lamp assembly from the metal or plastic channel . |
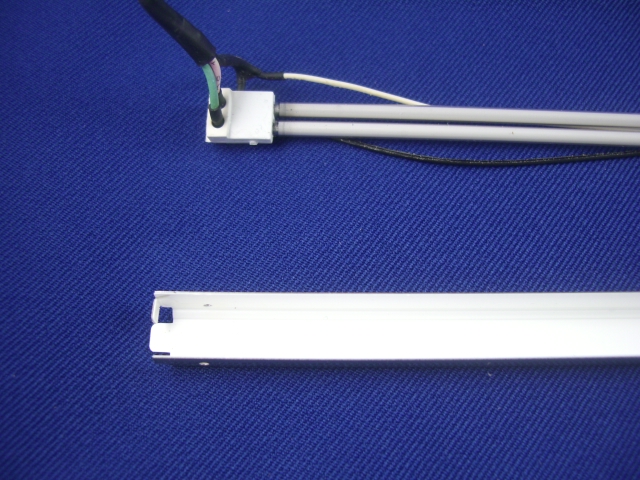 |
| Set channel aside for later reassembly. |
 |
| Next you will remove the silicon end caps. Often times they can be difficult to remove as the heat of the lamp has caused them to stick to the glass. Take your time and and slowly separate the glass from the end cap being careful not to damage the silicon end caps to badly. Small tears and cracks are common and usually will cause no problem in the reassembly. If your end caps are damaged beyond repair you will need to check our accessories section for a compatible end cap. *TIP* You can also use a small amount of silicon caulking to repair torn caps. The key is to make sure that no metal is exposed. |
 |
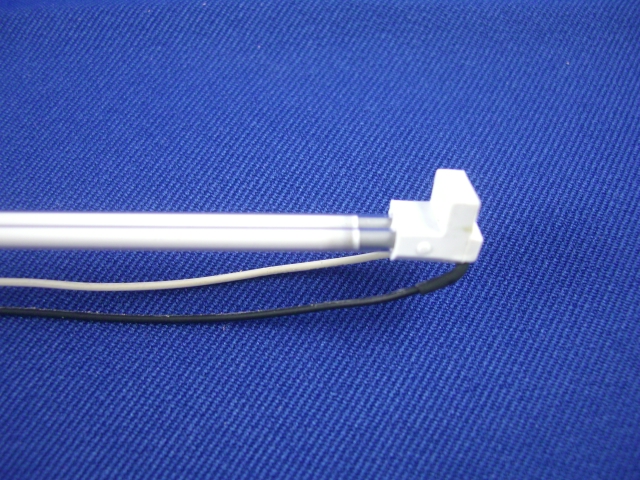
| Slide the caps up the wire. Do not remove the cap as it will be to easy to lose your orientation and will make reassembly very difficult. |
 |
| With caps removed, double check that your lamps are of the correct length. Lamps should be exactly the same size as the originals or even up to 5mm shorter but never longer than the original. Also note that the long electrode will be trimmed down to size in a later step. |
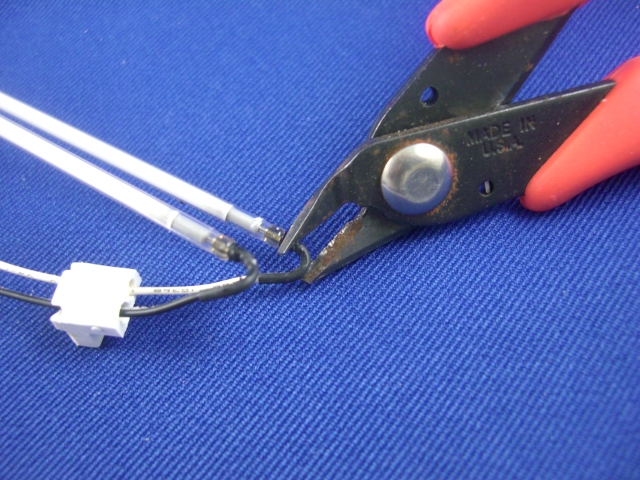 |
| Using the small snips or scissors cut the wire away from the old lamps. You will want to make sure to trim as close to the lamp as possible so that your wires are not to short for reassembly. Make sure to observe the condition of the wire. If the wire shows burn marks or cracking or peeling insulation you will definitely want to replace the wire. You can find replacements in the accessories section. |
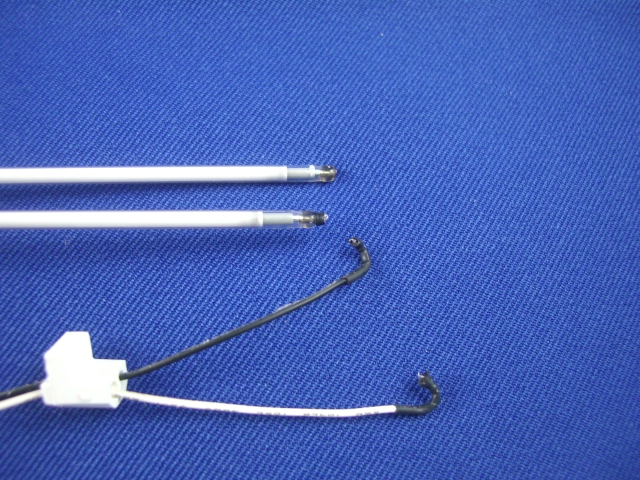 |
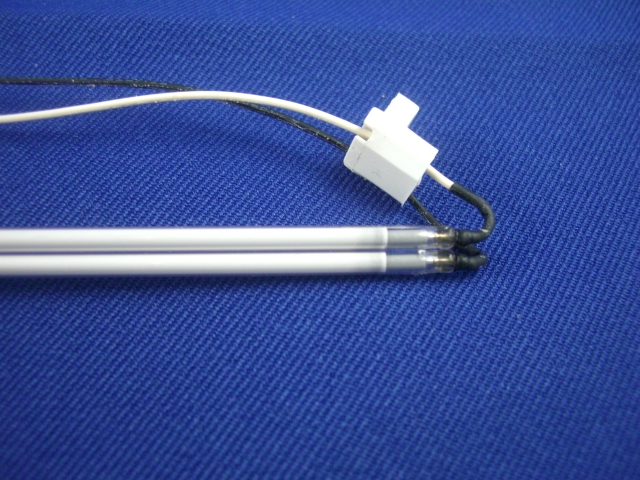
| Wires removed and ready to be prepped for new lamps. |
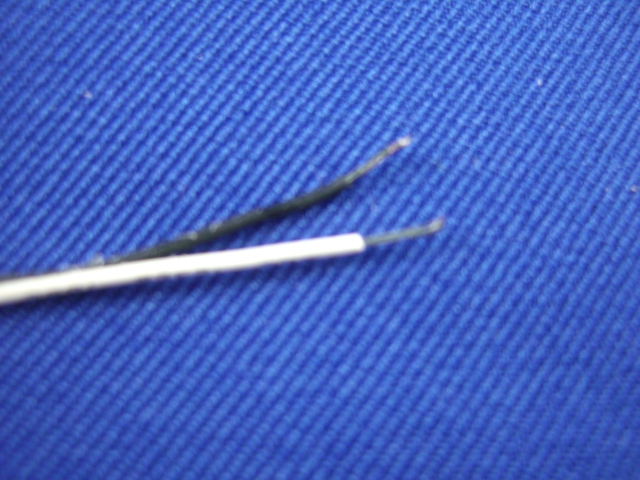 |
| You will now want to strip a small section of the wire sheathing approx. 4-5mm from the end of the wires. The use of wire strippers is ideal here but you can also use the small snips if you are careful not to cut the braided wire inside. |
 |
| The next step will be to make a mall loop on the end of the wire for easy soldering and assembly. |
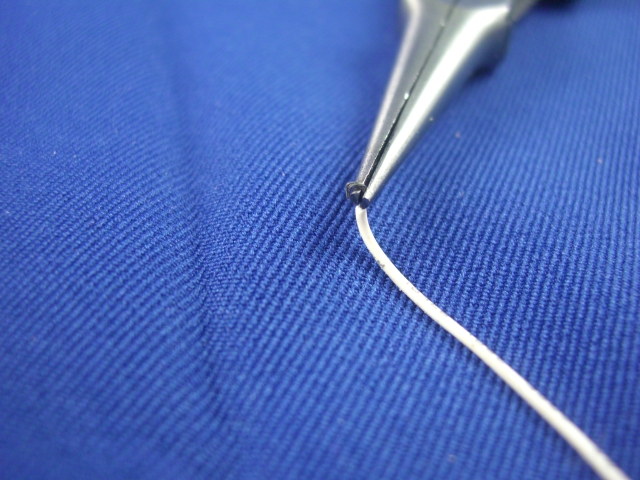 |
| Using the small needle nose pliers you want to roll a small loop in the end of the wire. You can also use a small finish nail, thumb tack or even a paper clip to wrap the wire around as long as you can make a small loop. |
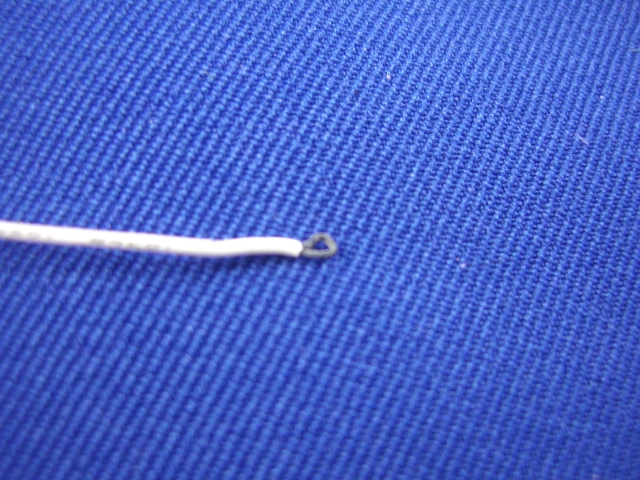 |
| Your small loop should look something like this. Taking your time to make everything right will make things much easier when it comes to soldering. |
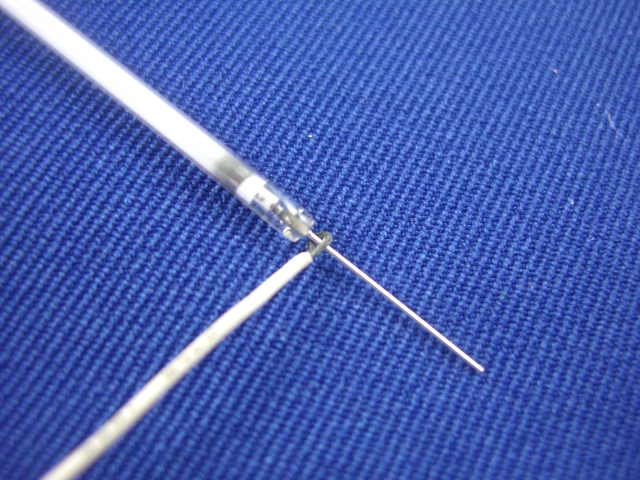 |
| After you have looped the ends of the wire you will want to slide it up the electrode right next to the glass. You are now ready to solder. |
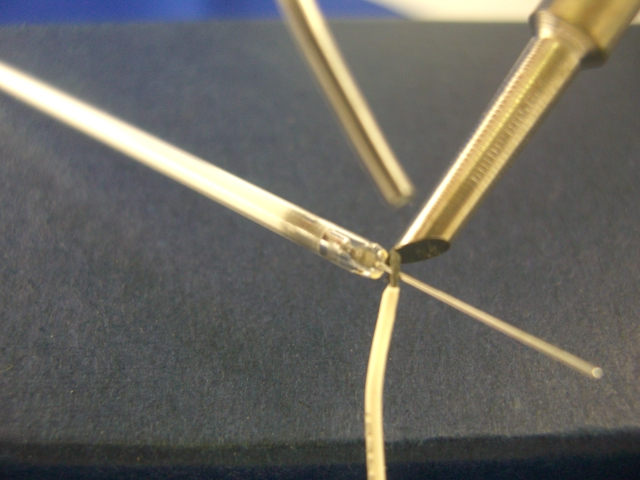 |
| Soldering is actually quite easy. Make sure the tip of your soldering iron is clean of old solder residue to allow for a clean solder joint. Try to heat both the electrode and the wire for a few seconds before applying the solder. If you use a flux core solder like that offered on our accessories page you will simply need to touch the solder to the hot tip which is in contact with the wire and electrode and the solder should pool into a small joint. as pictured below. |
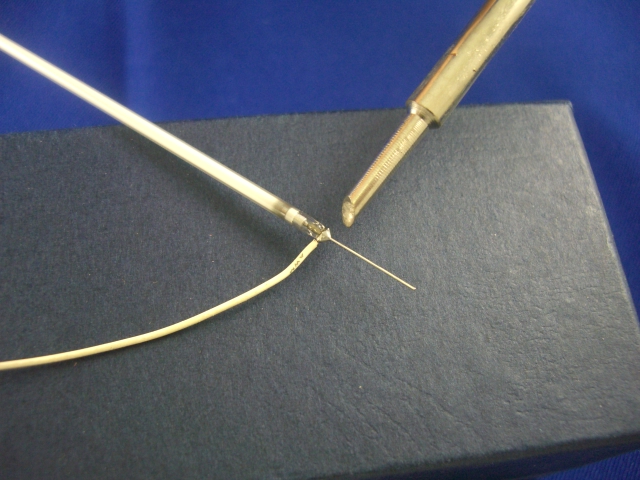 |
| This is what a good solder joint should look like. Not too much solder. Pay attention when you disassemble your one and try to replicate exactly as the original. Most importantly make sure that your wire makes good contact and is not loose. For your reference only, Below is what a solder joint should not look like. You will need to remove the solder by reheating it and start over. |
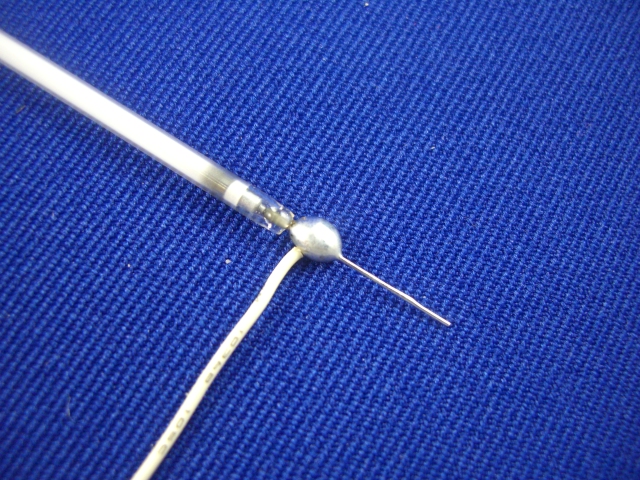 |
| If your solder joint looks like this you will need to start over or practice on a scrap piece of wire. You do not need very much solder for good contact. |
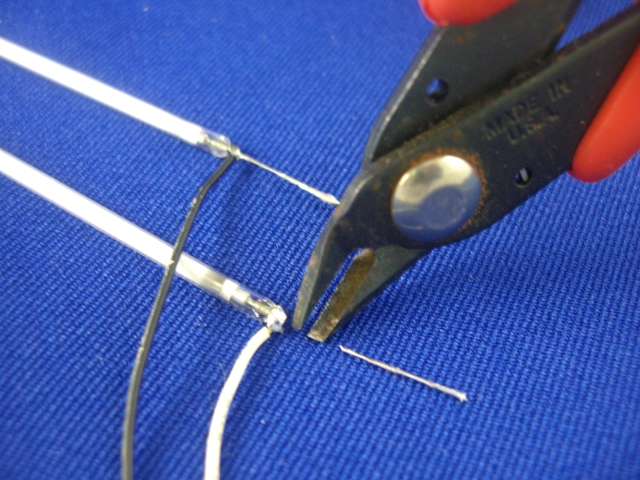 |
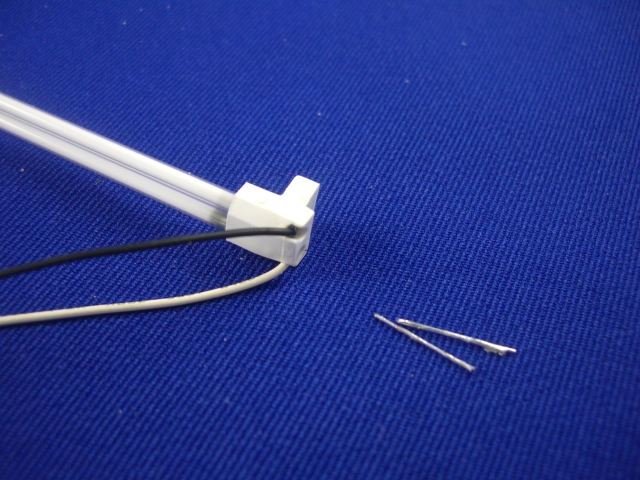
| With your solder joints completed you will now want to trim off the excess electrode. Using the snips or scissors trim the wire right up to the solder joint. You can also use these to trim off excess solder if your joint is a little too large. |
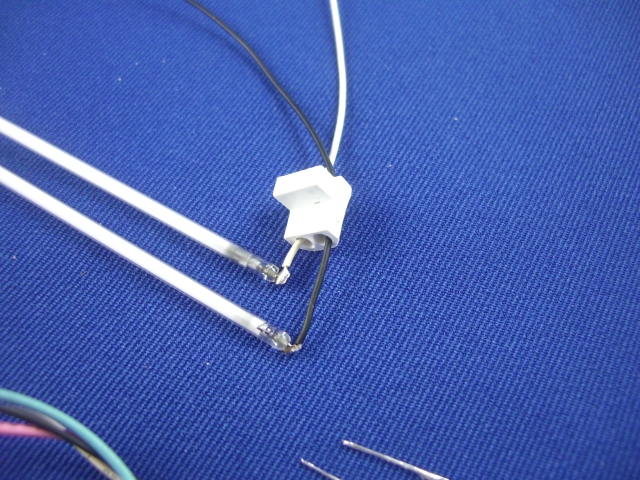 |
| You are now ready for reassembly. |
 |
| Slide the silicon cap back over the lamps as it originally was. At this point you may wish to test the lamps to make sure that the solder joints are good and that everything is working. You don't want to completely reassemble your LCD only to find that one of your wires was loose and your display does not light up. Be careful not to touch any part of the assembly when testing as it is a high voltage device and can shock you. |
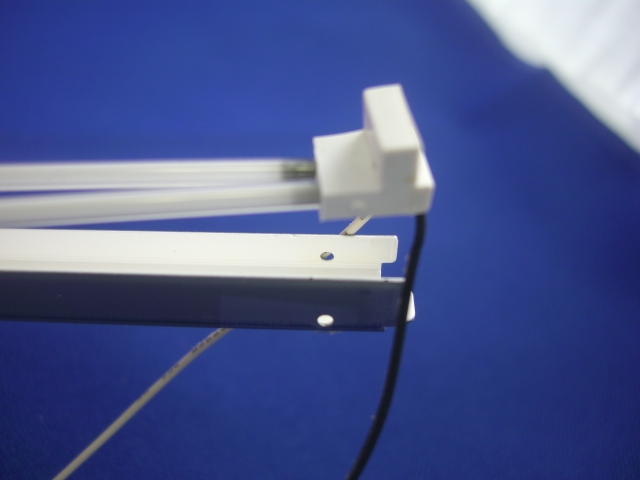 |
| You can now re insert the assembly into the channel, simply reversing the steps from the beginning. |
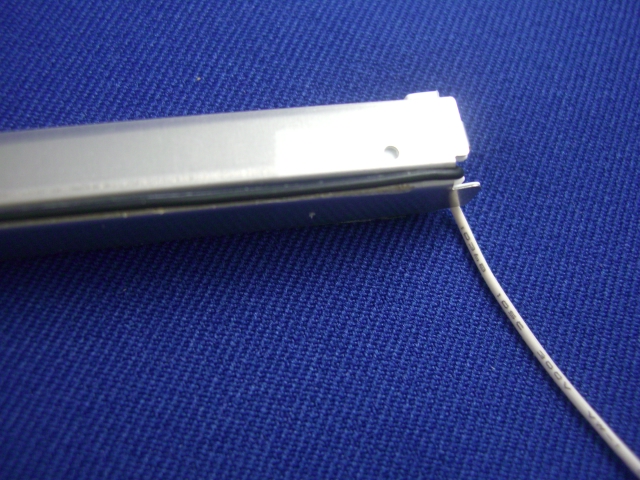 |
| You will want to run the wires back along the grooves in the channel just as they were previously. |
 |
| Make sure to replace the tape to hold the wires in place and you are ready to reassemble your LCD. |
|
|
| A job well done. |